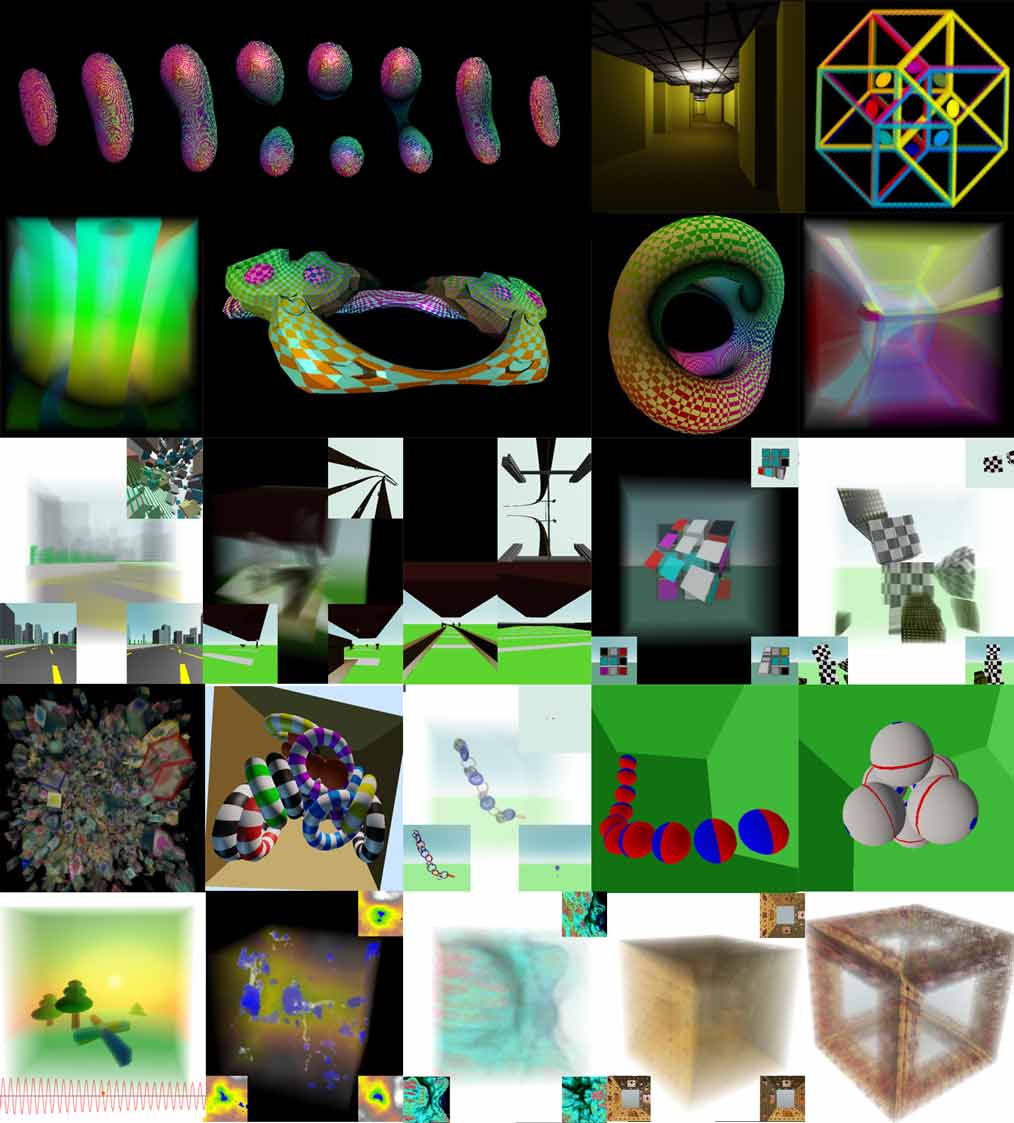
Start Tesserxel Examples
Click this link to enter Tesserxel Examples. Playing on Mobile phone is not recommended for controlling reasons. If you see “Oops, your browser doesn’t support WebGPU”, you may try another browser. Google Chrome (PC version above 113) is all you need to run tesserxel.
3D retina and controls
Tesserxel is the next brand new generation of my old project “4D Viewer”. You should firstly read Tutorial for 4D Viewer to learn concepts for “3D retina” and basic 4D direction. Since many operations in Tesserxel are the same as the original old engine “4D Viewer”, Here is no repeated description of the camera movement rotation and 4D direction control. This article focuses on the related operations of the 3d photo(retina) rendering settings, and lists common camera control shortcuts.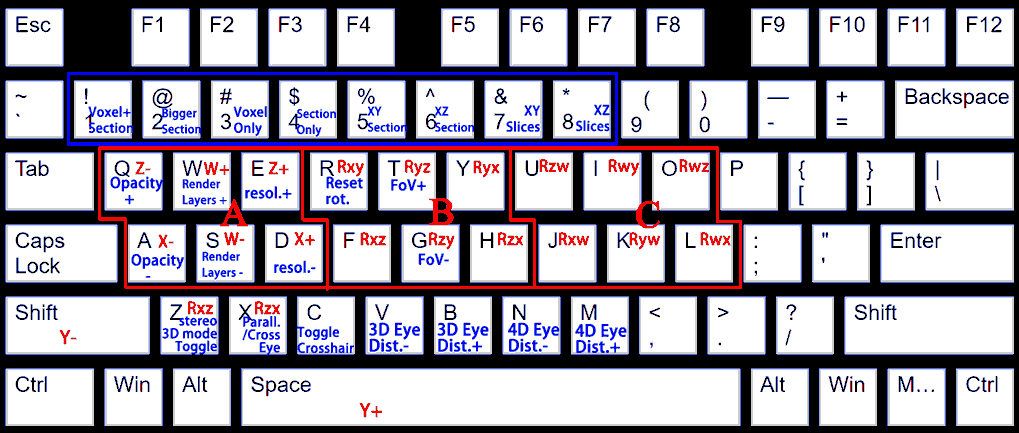
Here is a shortcut keyboard chart above. Specific meanings will be gradually explained in this article later. Note that not all functions in all scenes are available in this shortcut chart. This depend on the camera control mode. Tesserxel also has a setting button (with gear icon) to adjust the rendering setting parameters, so remember the related shortcuts in blue text is not necessary.
There are generally three control modes:
- Control: Trackball mode. Use the left (xz/yz rotate in 3D), middle (xy roll and zw rotate in 4D) and right (xw/yw rotate in 4D) mouse button to drag, and scroll mouse wheel to zoom in/out.
- Control: Keep up mode. Keep the horizontal cell (analogy of the horizontal plane) in the camera always perpendicular to the vertical direction in 3D retina. Use the key Q/E/W/S/A/D/Space/Left Shift to move, U/O/I/K/J/L to rotate (turn). Moving the mouse(turn left/right/ana/kata) or scroll wheel(turn up/down) can also rotate the camera. Use key Z/X to spin, which can perform rotation that keeps both the vertical direction and the forward direction unchanged.
- Control: Free fly mode. In addition to the same camera control as the Keep up mode, three sets of 3D rotation (rotation in 3D retina screen only) operations are added: R/Y/T/G/F/H; Note that F/H and Z/X are actually the same.
These directions with letters x/y/z/w (also written in red in the keyboard shortcut chart) can be referred to the figure below: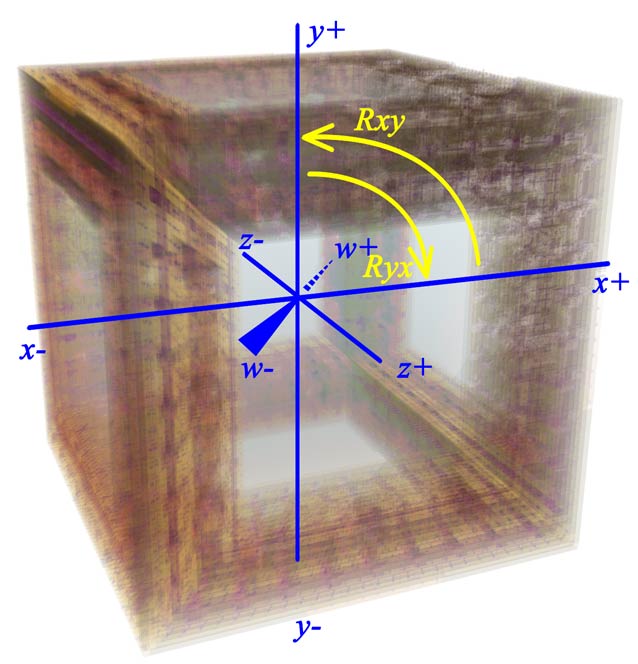
If you don’t understand these directions, especially so many rotation directions, try to play yourself and you will understand! In general, each 3x2 area (A/B/C) on the shortcut keyboard chart corresponds to operations with three degrees of freedom (Group A is horizontal translation, Group B is three-dimensional rotation, and Group C is four-dimensional steering). If you still can’t figure it out, I’ll give this sentence for you: Don’t try to understand it. Feel it.
Special operations in other scenes will be written in the instructions at the bottom of the left sidebar. Here are some examples:
- Many physical scenes support using the left mouse button to fire a ball to interact with objects.
- In linear/planar train scenes, you can use the key T/G to control the train running and R/Y for planar train teering.
Retina rendering settings
For “Real” 4Ders, they can see all voxels in 3D retina at the same time without overlapped colors. As 3d creature with 2D eyes, if we want to capture and understand these details, we have to work hard on the rendering of 3D voxel photos. All the keyboard shortcuts for voxel rendering settings need to hold the Alt key (marked in blue in the chart). You can also click the gear button on the right edge of the screen to open render setting menu.
Note: The previously introduced operations are all for the control of 4D camera, that is, the content in the voxel photo will change. Here, operations in this section only change the rendering settings of the voxel photo, which does not modify the 3D picture itself seen by 4D creatures.
Naked eye 3D stereo mode settings
Naked eye 3D stereoscopic mode is enabled by default. If it bothers you, use Alt+Z to toggle it.
In 3D stereoscopic mode, the “depth” direction is different in 3D retina view and cross section views. details can be found here.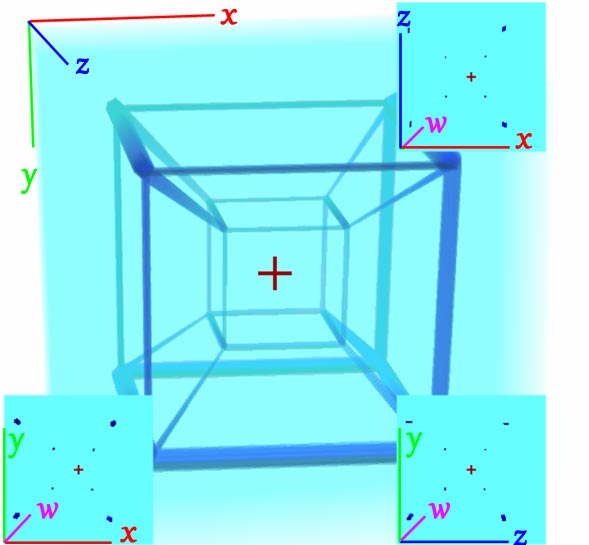
Note: The default is cross-eye stereo mode. If you want to change to parallel-eye mode, use the shortcut Alt+X to switch.
Adjust the eyes distance in the 3D view: Alt+V and Alt+B. It adjust the rotation angle difference of the left and right 3D photos.
Adjust the 4D eyes distance of the cross section: Alt+N and Alt+M. It adjust the distance between the two cameras corresponding to the left and right eyes in the 4D scene.
View configurations
- Alt+1: (Default) 3D retina + 3 cross sections of 3 perpendicular planes crossing retina center.
- Alt+2: The same as above, but with bigger cross sections.
- Alt+3: Only 3D retina, cross sections are hidden.
- Alt+4: Only 3 cross sections of 3 perpendicular planes crossing retina center, 3D retina is hidden.
- Alt+5: Fullscreen for cross section of X-Y plane crossing retina center.
- Alt+6: Fullscreen for cross section of X-Z plane crossing retina center.
- Alt+7: 3D retina with different slices parallel to X-Y plane.
- Alt+8: 3D retina with different slices parallel to X-Z plane.
(I found a weird bug: When opening Photoshop, the browser cannot capture the number keys press event while holding the Alt key!)
Control the orientation of 3D voxel photos
drag the mouse while holding the Alt key to rotate the 3D voxel photo. (Alt+arrow keys can also do that. This shortcut is not marked in the chart.) Scroll the mouse wheel while holding the Alt key to zoom in and out. Note that 3D voxel photo (retina) is essentially equivalent to the screen watched by a 4D person. Rotating the screen will confuse the recognition of the direction in the 4D world, so we need to press Alt+R to reset the 3D voxel photo rotation. If you really wish to rotate the view, you can rotate the camera in 4D, e.g. pressing the keyboard Z/X (or the RTYFGH keyboard in free fly mode). This can also change the view angle of the 3D voxel contents instead of rotating the 3D screen itself.
What is the difference between rotating a photo screen and rotating a camera? Here I give a 2D analog below: If you rotate the 3D voxel photo around the y axis (vertical axis) by 90 degrees, the camera that originally moved left and right by pressing the keyboard A/D will now appear to move ana and kata. I’ll give two adivecs: 1. Always reset the rotation in time after you change the view angle by rotating the screen. 2. When rotating 3D screen, the rotation angle should not exceed 45 degrees, this can make less confusion to find the actual control direction.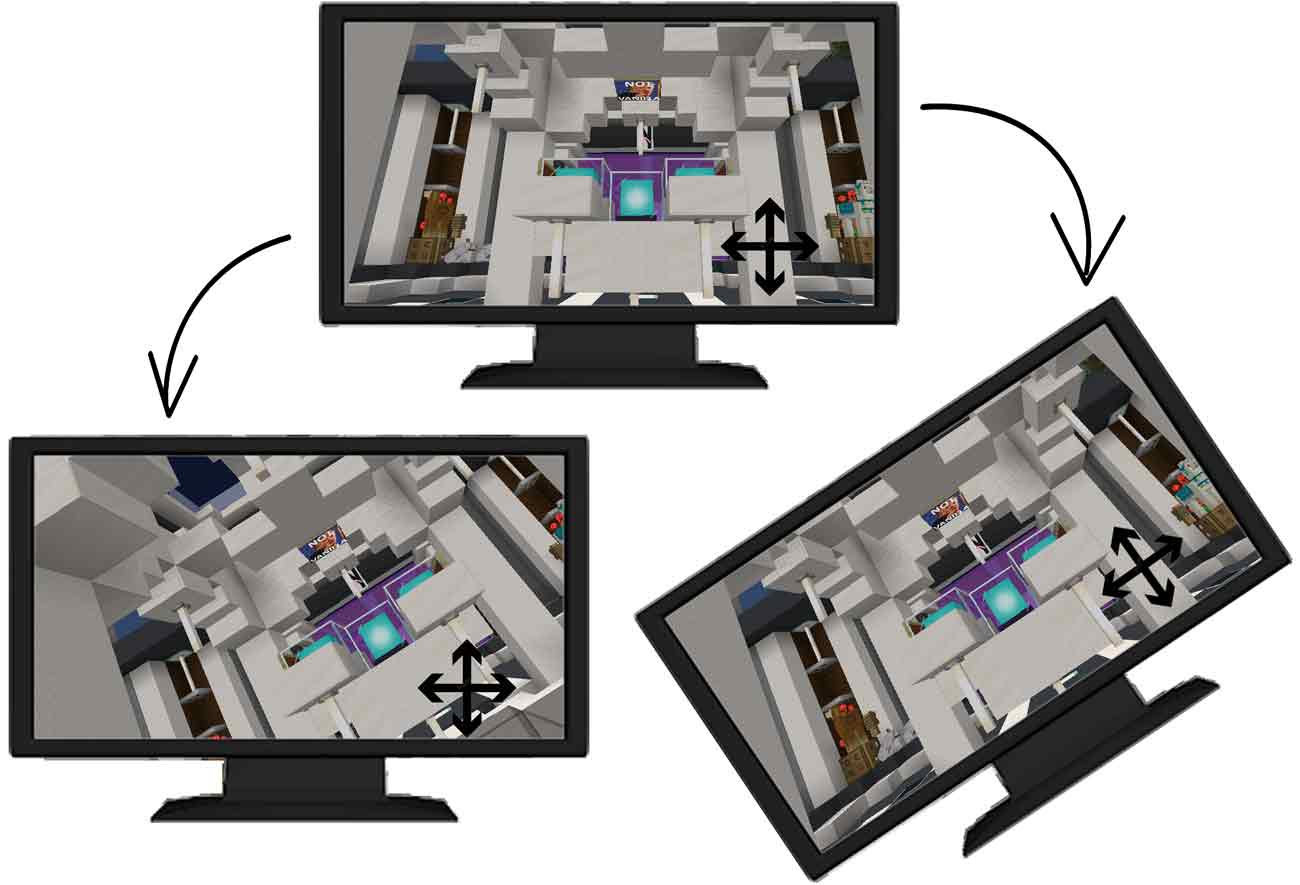
3D retina field of view (FOV): Alt+G and Alt+T. We can use this to switch between orthogonal and perspective projection to project 3D voxel photos to our 2D screen. ( this not affect 4D camera, that is, what 4Der sees!)
Retina shape settings
Why 4Der’s retina must be a cube? Why not a sphere? How can I cut out some voxels away in order to better observe the remained voxel? Retina shape settings is exactly for that. Press Alt+F multiple times can toggle between these modes:
- Default cube retina with all voxel remained.
- Sphere: Alt + drag with right mouse button can adjust sphere radius (vertical movement) and the feathering amount of sphere’s border (horizontal movement).
- Smaller cube: Alt + drag with right mouse button can adjust cube size (vertical movement) and the opacity of outside voxels (horizontal movement).
- Plane (actually a half space): Alt + drag with right mouse button can rotate the plane.
Image settings
- 3D voxel photo opacity: adjust with Alt+Q/Alt+A. When opacity is very low, you can sometimes see artifacts of circles, which seems to be caused by float precision bug. It is recommended to adjust the opacity to a moderate level. Too low will make everything blurry and unclear, too high will cause only voxels near the surface can be seen, and the voxels in the retina center will be invisible.
- Crosshair: toggle with Alt+C. It will be located at the center of the cubic 3D screen if 3d stereo mode is enabled. This is very helpful when you want to align some thing in the retina center to move towards that target, otherwise it is difficult to know the depth distance to the center.
Render quality settings
The following two settings will greatly affect the FPS performance. Be careful!
- render layers of 3D retina: adjust with Alt+W and Alt+S. Voxels are rendered by many transparent slices. Changing the number of slice layers means changing the z-axis resolution. Note: The more layers, the slower FPS.
- 3D retina slice resolution: Alt+E and Alt+D to adjust. The 2D resolution of each voxel, that is, the resolution in the xy direction. Note: The higher the resolution, the slower the FPS, especially for scenes such as fractals where the calculation per fragment (pixel) is heavy.